How to Integrate ckeditor5 in Web Aplications with Custom Plugins
Ckeditor is the most used text editor in web applications. In this post, I will explain how to use CKeditor5 in web applications we develop (laravel, codeigniter … in PHP, Django, Flask … in Python).
Customizing the toolbar and integrating plugins into the editor in ckeditor5 is a little different from ckeditor4. Plugins are installed as a package in CKEditor 5.
Before installing Ckeditor5, the javascript package manager npm (node package manager) must be installed on computer.
1. Installation
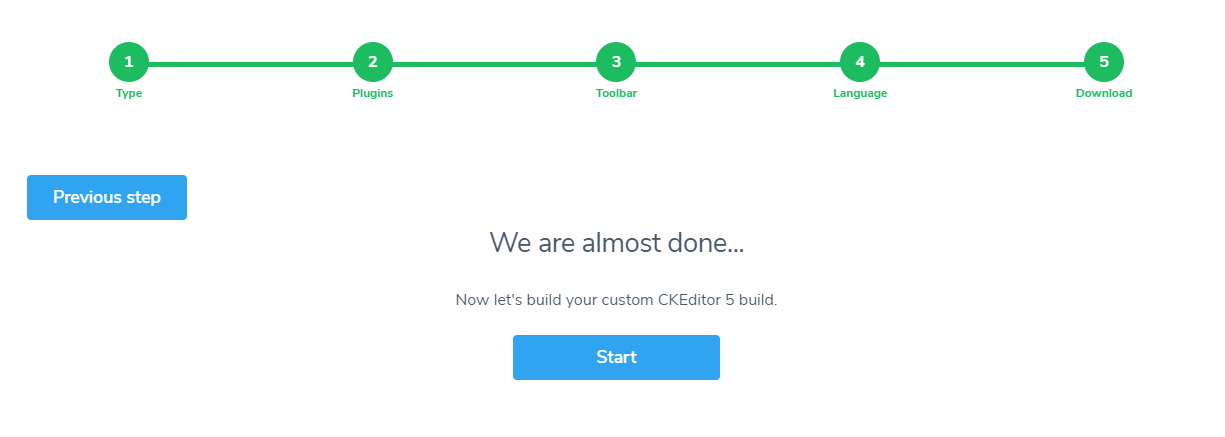
We will use the online buider on the official website to install the ckeditor on our computer. You can enter Ckeditor5 online builder from the link below.
https://ckeditor.com/ckeditor-5/online-builder/
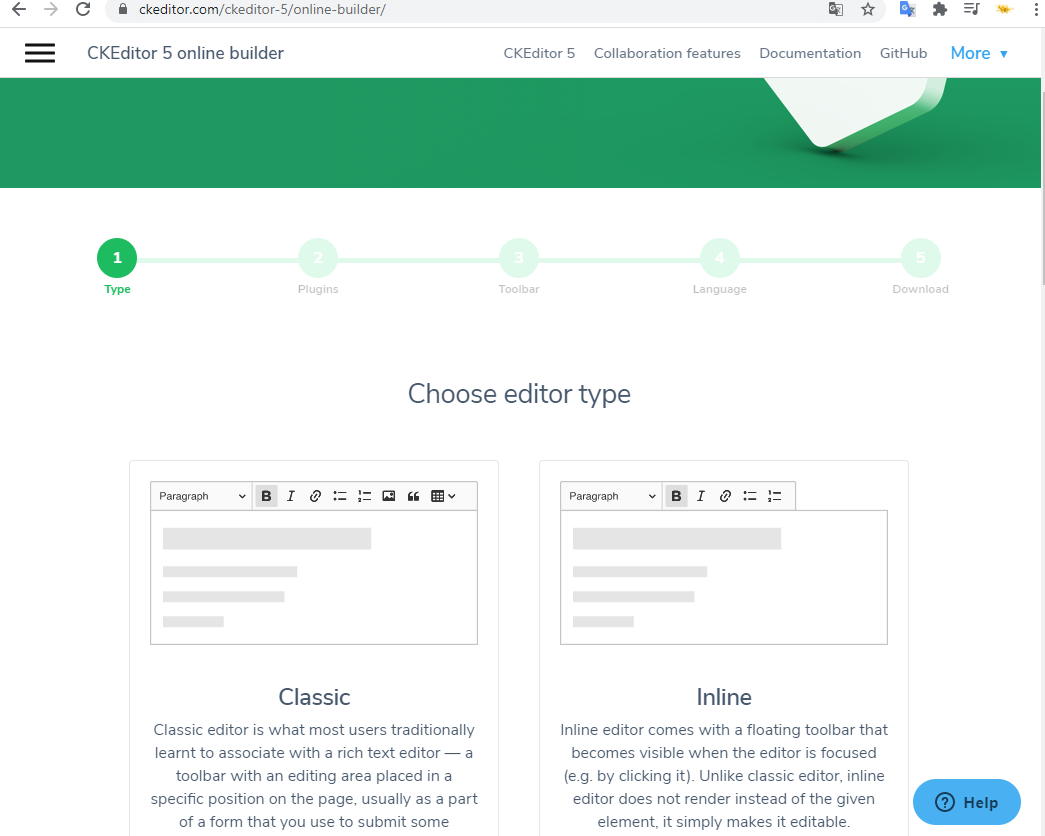
We choose the type of ckeditor we can choose on the page that comes up. I chose Classic here.
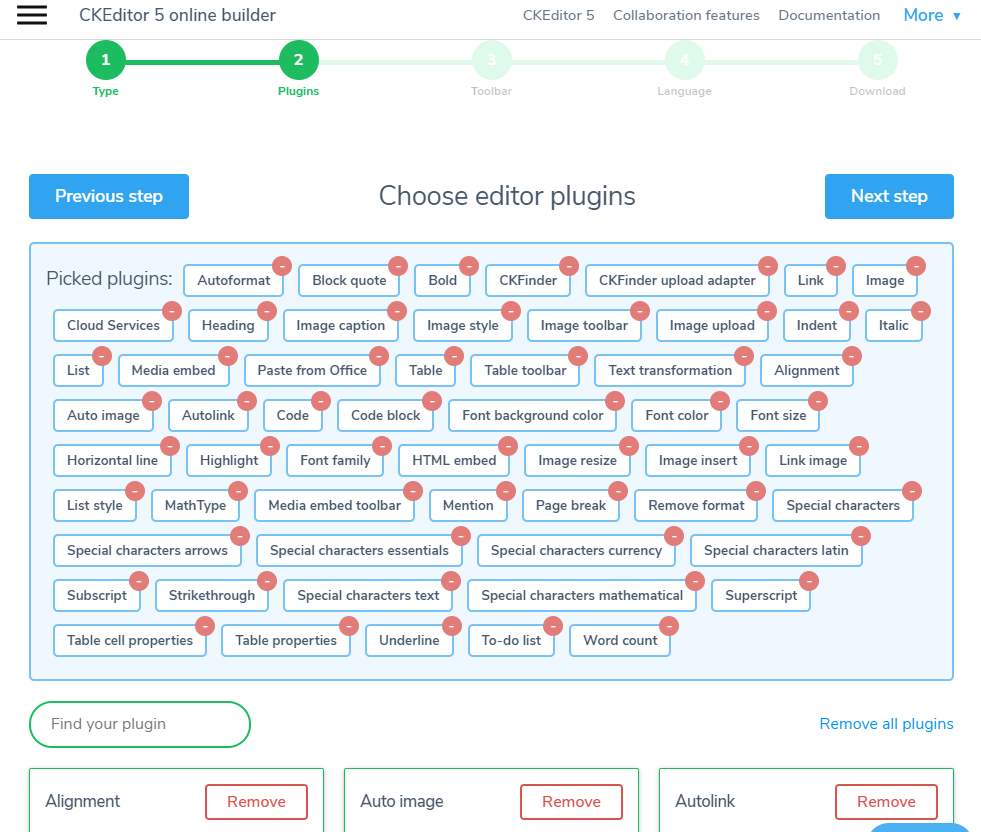
In step 2, we choose the plugins we want in our editor. If you choose paid plugins, you will receive a license warning from console after installation.
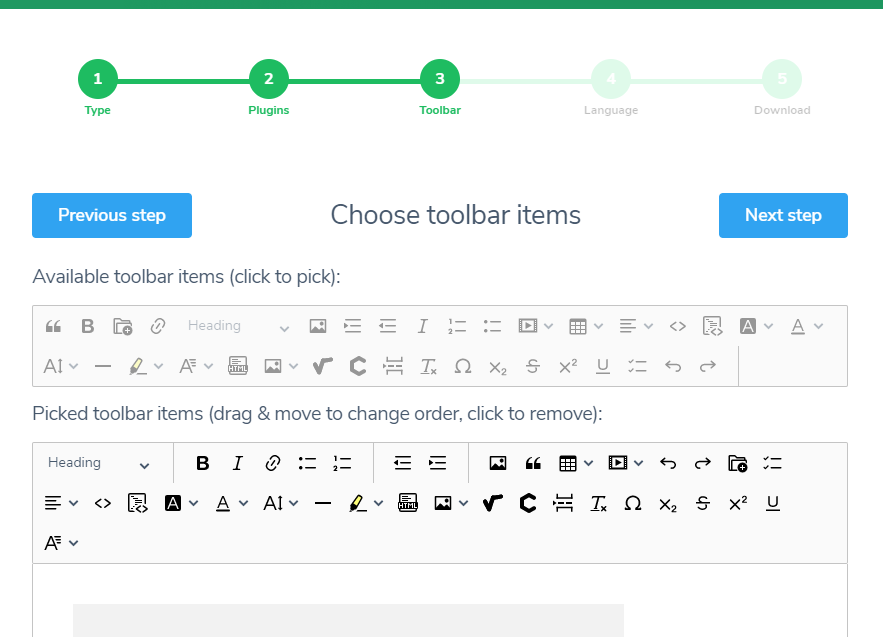
In step 3, we select the features we want the editor to have in the toolbar.
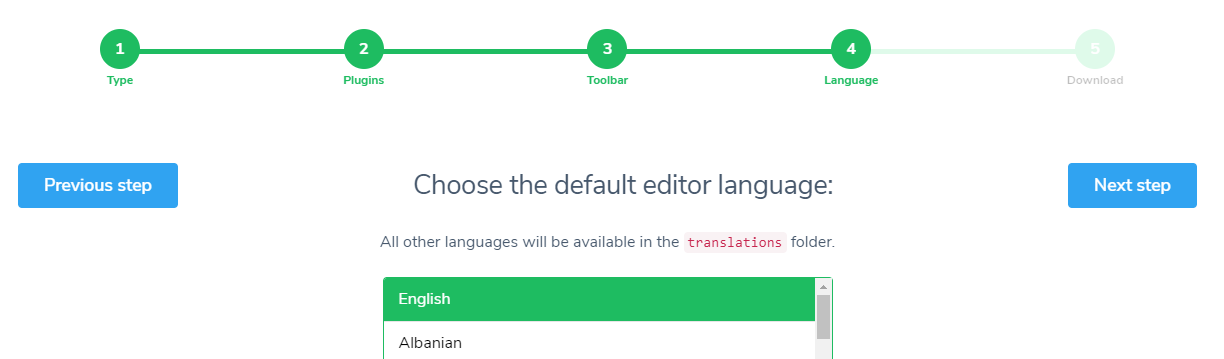
In step 4, we select in which language we will use the editor.
In the last step, we download ckeditor5 to our computer with the preferences we chose.
When we examine the package.json file of Ckeditor5 that we downloaded to computer, we can see the dependencies of ckeditor. We identified these dependencies with ckeditor online-builder. These plugins have not yet been downloaded on our computer, we will install them on our computer with npm.
{
  "name": "ckeditor5-custom-build",
  "author": "CKSource",
  "description": "A custom CKEditor 5 build made by the CKEditor 5 online builder.",
  "version": "0.0.1",
  "license": "SEE LICENSE IN LICENSE.md",
  "private": true,
  "main": "./build/ckeditor.js",
  "devDependencies": {
    "@ckeditor/ckeditor5-adapter-ckfinder": "^27.1.0",
    "@ckeditor/ckeditor5-alignment": "^27.1.0",
    "@ckeditor/ckeditor5-autoformat": "^27.1.0",
    "@ckeditor/ckeditor5-basic-styles": "^27.1.0",
    "@ckeditor/ckeditor5-block-quote": "^27.1.0",
    "@ckeditor/ckeditor5-code-block": "^27.1.0",
    "@ckeditor/ckeditor5-dev-utils": "^24.4.2",
    "@ckeditor/ckeditor5-dev-webpack-plugin": "^24.4.2",
    "@ckeditor/ckeditor5-editor-classic": "^27.1.0",
    "@ckeditor/ckeditor5-essentials": "^27.1.0",
    "@ckeditor/ckeditor5-font": "^27.1.0",
    "@ckeditor/ckeditor5-heading": "^27.1.0",
    "@ckeditor/ckeditor5-highlight": "^27.1.0",
    "@ckeditor/ckeditor5-horizontal-line": "^27.1.0",
    "@ckeditor/ckeditor5-html-embed": "^27.1.0",
    "@ckeditor/ckeditor5-image": "^27.1.0",
    "@ckeditor/ckeditor5-indent": "^27.1.0",
    "@ckeditor/ckeditor5-link": "^27.1.0",
    "@ckeditor/ckeditor5-list": "^27.1.0",
    "@ckeditor/ckeditor5-media-embed": "^27.1.0",
    "@ckeditor/ckeditor5-mention": "^27.1.0",
    "@ckeditor/ckeditor5-page-break": "^27.1.0",
    "@ckeditor/ckeditor5-paragraph": "^27.1.0",
    "@ckeditor/ckeditor5-paste-from-office": "^27.1.0",
    "@ckeditor/ckeditor5-remove-format": "^27.1.0",
    "@ckeditor/ckeditor5-special-characters": "^27.1.0",
    "@ckeditor/ckeditor5-table": "^27.1.0",
    "@ckeditor/ckeditor5-theme-lark": "^27.1.0",
    "@ckeditor/ckeditor5-typing": "^27.1.0",
    "@ckeditor/ckeditor5-word-count": "^27.1.0",
    "@wiris/mathtype-ckeditor5": "^7.26.0",
    "css-loader": "^5.2.4",
    "postcss": "^8.2.10",
    "postcss-loader": "^4.2.0",
    "raw-loader": "^4.0.2",
    "style-loader": "^2.0.0",
    "terser-webpack-plugin": "^4.2.3",
    "webpack": "^4.46.0",
    "webpack-cli": "^4.6.0"
  },
  "scripts": {
    "build": "webpack --mode production",
    "start": "npx http-server -o ./sample -s -c-1"
  }
}
To install the packages in the package.json above, we open terminal screen in the ckeditor folder that we downloaded to our computer, in the directory where the package.json file is located. Then we install the packages on our computer by running the following npm code.
npm install
When we run this code, a folder called node_modules will be created. The ckeditor packages will be installed in this folder.
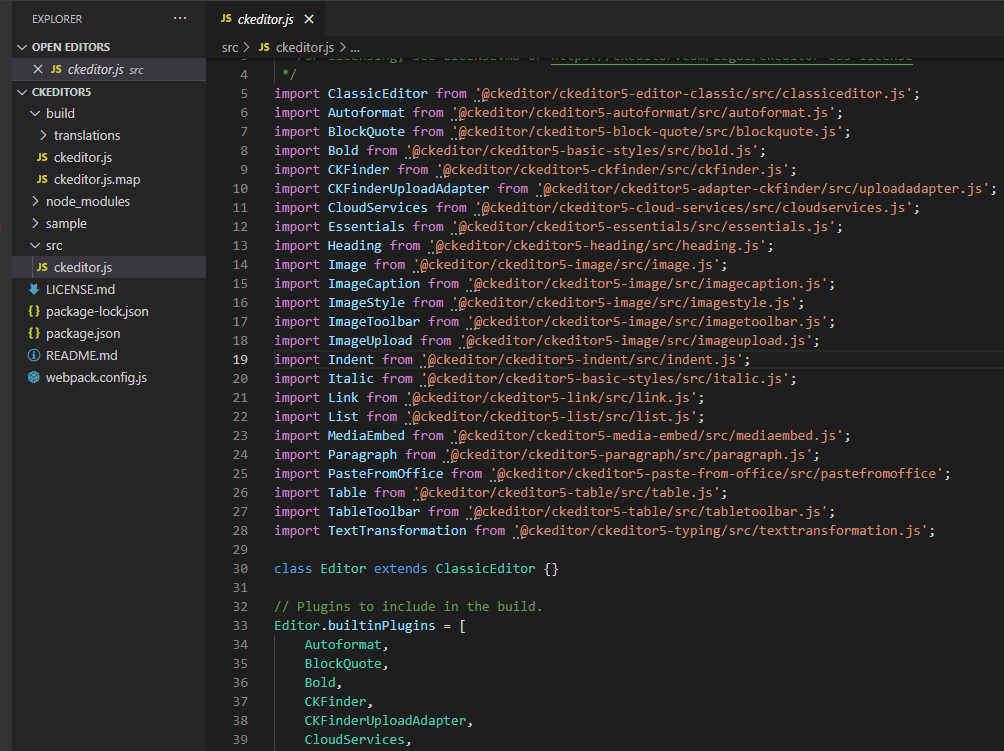
We can see which packages were imported into ckeditor5 in the ckeditor.js file in the src folder shown in the picture below. If we want to remove some of these packages later, it is necessary to remove both from the package.json file and from here.
In the last step, we will build ckeditor5 with all the packages by running the following code on the terminal screen.
npm run build
2. Usage
To use ckeditor5 on HTML page, we import the ckeditor.js file from the build folder.
<script src="/ckeditor5/build/ckeditor.js'"></script>
Then we define the id attribute of the textarea element as editor.
<form action="" method="post">
       <textarea name="" id="editor" class="ckEditor"></textarea>
                <br>
       <button type="submit" class="btn btn-primary float-right">Submit</button>
</form>
In the last step, we create the editor by calling the ClassicEditor.create() method between the javascript tags under our html page. We can make toolbar and other settings as in the code block below.
<script>
ClassicEditor
.create(document.querySelector( '#editor' ), {
fontFamily: {
options: [
'default',
'Ubuntu, Arial, sans-serif',
'Ubuntu Mono, Courier New, Courier, monospace'
]
},
toolbar: {
items: ['heading', '|', 'imageUpload', 'bold', 'italic', 'underline', 'fontFamily', 'undo', 'redo',
'fontSize', , 'fontFamily', 'fontColor', 'fontBackgroundColor', 'htmlEmbed', 'link', 'insertTable',
'mediaEmbed', 'bulletedList', 'numberedList', '|','MathType', 'blockQuote', 'specialCharacters'],
shouldNotGroupWhenFull: true
},
image: {
// You need to configure the image toolbar, too, so it uses the new style buttons.
toolbar: ['imageTextAlternative', '|', 'imageStyle:alignLeft', 'imageStyle:full', 'imageStyle:alignRight', 'imageStyle:alignCenter'],
styles: [
// This option is equal to a situation where no style is applied.
'full',
'side',
'alignCenter',
// This represents an image aligned to the left.
'alignLeft',
// This represents an image aligned to the right.
'alignRight'
]
}
})
.then(editor => {
// This place loads the adapter.
editor.plugins.get('FileRepository').createUploadAdapter = (loader) => {
return new UploadAdapter(loader);
};
})
.catch(error => {
console.error(error);
});
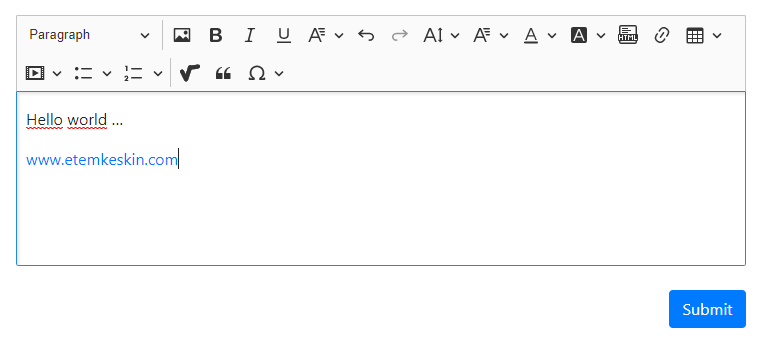
</script>When we render the html page we created from the web browser, we get the following screen of ckeditor5.
3. Image Uploading
There are several methods if you want Ckeditor5 to work with image files. In this post I will explain about the easiest and most convenient.
First we create a file called imageupload.js inside the ckeditor5 folder. We import this file into our project.
<script src="/ckeditor5/build/ckeditor.js'"></script>
<script src="/ckeditor5/imageupload.js"></script>
Then we paste the following code block into this file by updating the api that will be used in the backend (ie server). In the code block below, jquery is used. If you want, you can use axios or fetch api. In the above code block, it is shown how to use imageupload in ClassicEditor.create() method.
In this way, you will be able to use your image files with the editor easily.
class UploadAdapter {
    constructor(loader) {
        this.loader = loader;
    }

    upload() {
        return this.loader.file
            .then(uploadedFile => {
                return new Promise((resolve, reject) => {
                    const data = new FormData();
                    data.append('upload', uploadedFile);
                    $.ajax({
                        url: ADMIN_URL + '/api/upload_file.php',
                        type: 'POST',
                        data: data,
                        dataType: 'json',
                        processData: false,
                        contentType: false,
                        success: response => {
                            resolve({
                                default: response.url
                            });
                        },
                        error: () => {
                            reject('Upload failed');
                        }
                    });
                });
            });
    }

    abort() {
    }
}
Good luck…
2 thoughts on “How to Integrate ckeditor5 in Web Aplications with Custom Plugins”
Leave a Reply
You must be logged in to post a comment.
Thank you very much, after so much searching (almost two days) your tutorial was the only thing that helped me. Thank you
Can you share the code of upload_file.php